|
|
Home →
Survival →
Fire →
Bowdrill
How to Make a Starter Bowdrill Set
from
a Cedar Fencepost
by Walter Muma
Page 1 of 2
On to Page 2 ... |
| |
| A great starter bowdrill set can be easily made from a chunk of cedar
fencepost. This page shows the steps involved in order to accomplish this.
Most people who have never made fire without matches can successfully
achieve fire with such a set. Cedar has the advantage of being easy to cut
and carve, and is also readily obtainable in the form of fence posts. This
page assumes that you have a basic knowledge of what a bowdrill is, and how
it is used to make fire. If not, please go back to the
main Bowdrill page and review the various
articles available. Also review Fire
Basics. The photographs for this article were taken during the
Wildwood Trackers meeting
in October 2005. |
|
|
 |
Start off with a good dry untreated cedar
fencepost. These are easily obtained at building supply stores and
other sources. Prior to starting, it's good to let it dry out and
"cure" indoors for a while. |
|
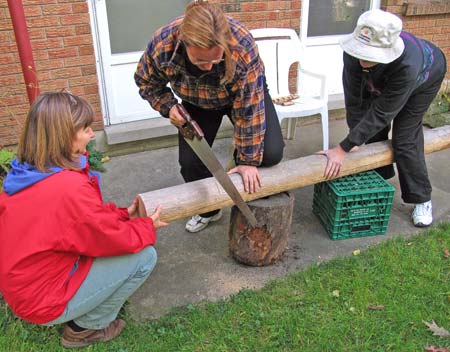 |
Saw off a chunk about 12-18" long.
Having some friends around to help is great! |
|
 |
Split the fencepost into pieces.
Keep in mind the end result that you are trying to achieve with
this: a fireboard, a spindle and a handhold. More on this farther
down the page. |
|
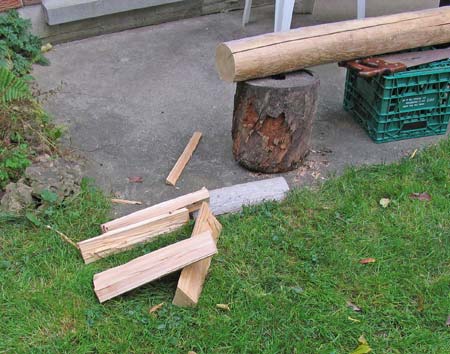 |
These are the raw pieces that you want
to end up with (there's some extras in this photo). Again, see below
for more guidance on this. |
|
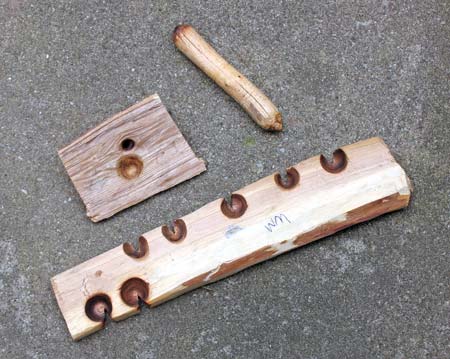 |
This is what you want end up with when
you're all done. This is a used bowdrill set, and doesn't
necessarily display the ideal dimensions. The spindle in this set is
crooked and a little short! But anyway, this is to remind you of
what you're aiming towards. |
|
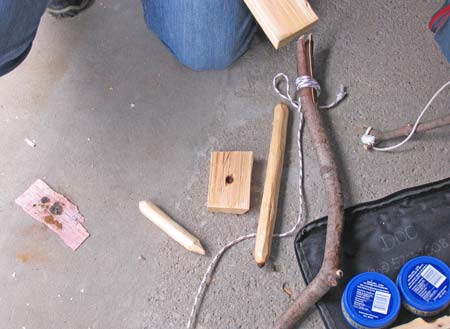 |
Another photo of some bowdrill
components.
- Bow
- Two spindles, one short and one much longer.
- Hand hold
- The fireboard is just peeking into the photo at the top.
- At the far left is a piece of birch bark to put under your
coal.
|
|
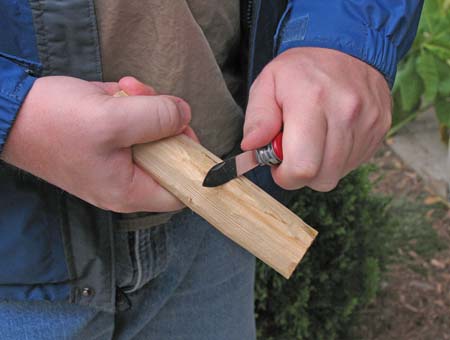 |
The parts are relatively easy to trim
down to the correct size and shape. For example, here is a
spindle. You want a nice round piece of wood for this. The exact
diameter doesn't matter a whole lot, but make it larger around than
your thumb. |
|
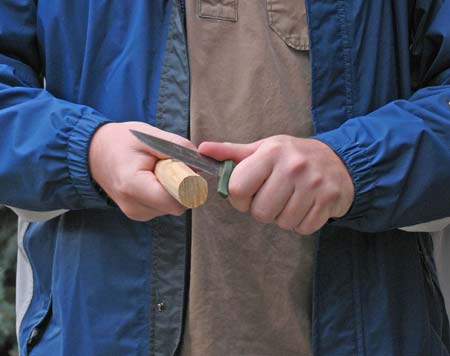 |
This spindle is getting nice and
round... Note how he is slicing AWAY from his body with the knife.
But make sure nobody walks in front of you across your knife's path! |
|
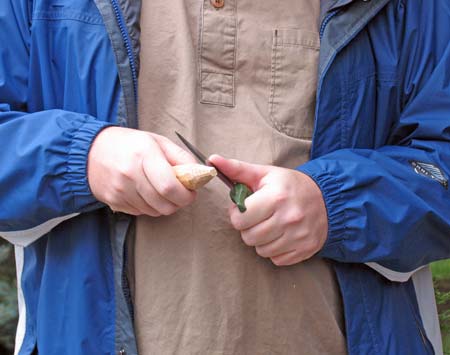 |
Pointing up the spindle. One end
(the top end) needs to be really pointed. The bottom end should be
blunter. |
|
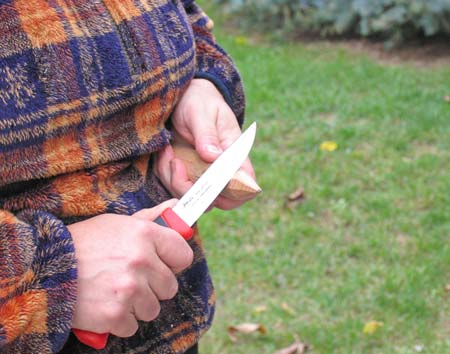 |
Nice sharp tip for the top of the
spindle. |
|
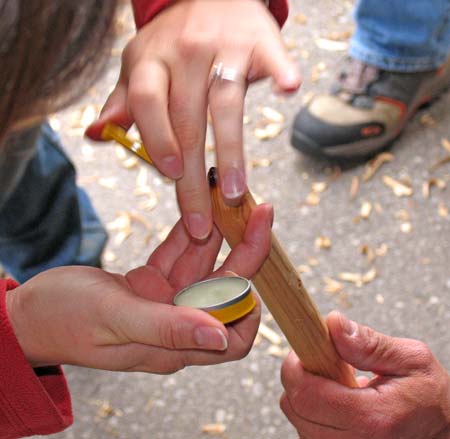 |
Once the top of the spindle has been
"burned in" it should be well lubricated with wax, oil or soap to
ensure that no friction occurs except at the fireboard (bottom) end
of the spindle. Of course, once you've done this, don't confuse
the ends of the spindle and put the lubricated end on the fireboard!
More about burning-in on the next page. |
|
|
|
|
On to
Page 2 ... |
|
|
|
|

