|
|
|
|
Home →
Survival →
Fire →
Fire From Ice
Fire From Ice: The Trail of
Learning Part II
Allan "Bow" Beauchamp |
| |
|
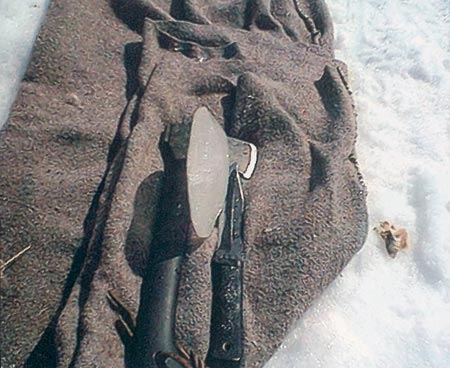
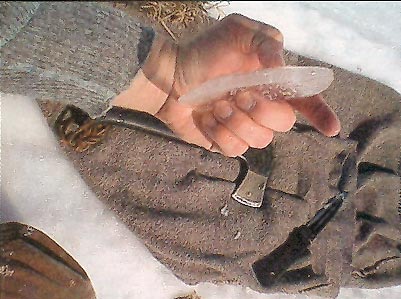
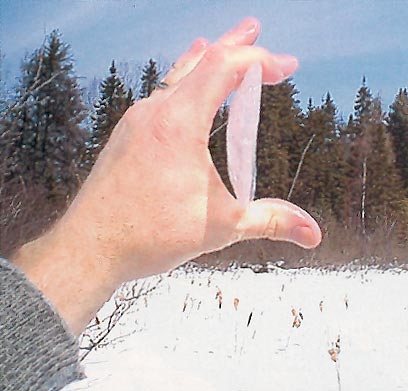
Photo 13
 |
By working the hand lens, you can
see that it has changed a lot of characteristics, and it seems
to be working in my favour. Photo 13. The top section is
forming fairly easily, and the initial size that I had cut and
selected to work with seems to be paying big dividends now. If I
had made it too small at the beginning, I would have no " extra
forming" material and depth to work with. |
|
|
|
|
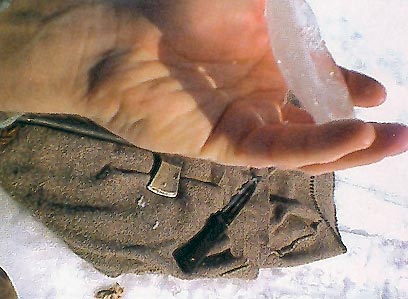
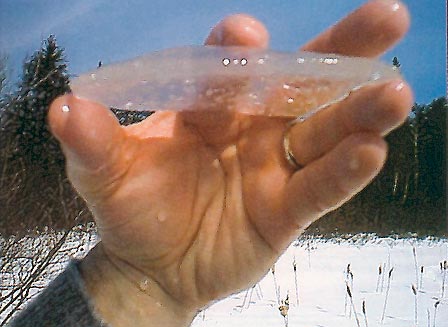
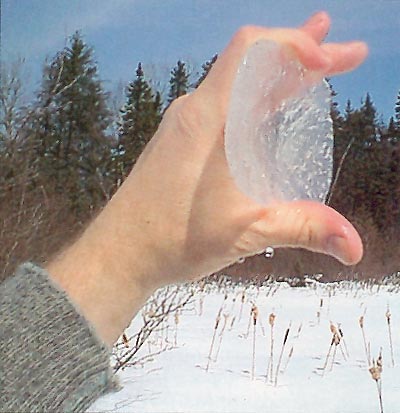
Photo 14
 |
I have started to make the lens
somewhat concave and convex such as you would find in a
magnifying glass. This was a real challenge using bush ice! This
is what Photo 14 shows that I am trying to do. Using my
bare hands, I am moulding the ice to look like what I think a
lens should be like. However, this piece still seems a bit
"thick." But, having it thicker is better, because I can always
take some more of it off, but I can not add it back on. Keep
in mind, it is a nice sunny day, and once I get the lens the
right width and thickness, will the sun just melt it? I needed
time to "fine tune" it also. I might not even get to make it
work before its characteristics just melt apart in my hands. |
|
|
The whole concept of this project is to get the heat from the sun to pass
through the ice lens and make fire. But, if there is sun, there is heat, and
I am holding a piece of ice in my hand, as I try to craft it. It will reduce
in size very quickly. I kept asking myself just how long before it actually
disappears? I decided to do an experiment to try to understand what I am
exactly doing here, and to see how quickly the ice melts. On a nice day, I
went outside and held an ice cube in my hand to see how long it would last.
Does it last long enough to work with? I tried this, to gauge my timings on
the "crafting time," and maybe find my "fine-tuning time!" I had thought
that perhaps you have just one try after you make your lens? Sort of a "pass
or fail" of sorts! That did not seem to me like a good "option" when I am in
the bush! |
|
|
|
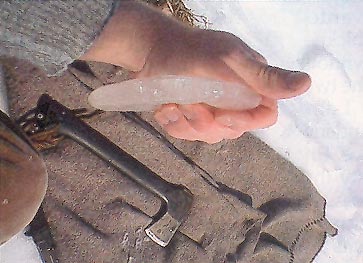
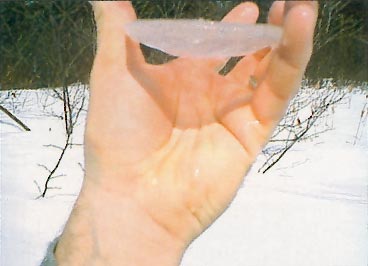
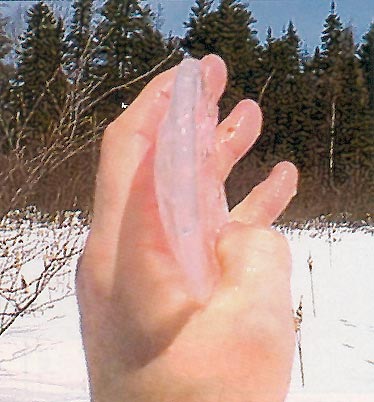
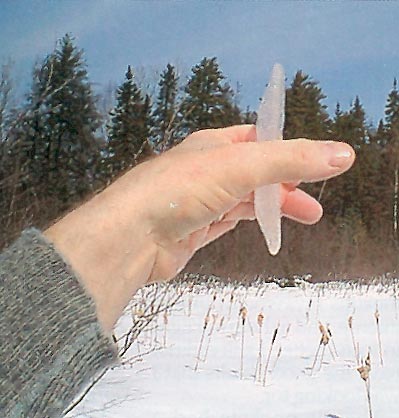
Photo 15
 |
In Photo 15, you can see
how I am crafting my ice lens; I am using the palm of my hand to
mould the outer side of the lens like a "hard hat," while using
the tips of my fingers to work the inner side. This way I can
keep it smooth and even. This was favourable and maintained
evenness, as the outside has just as many turns as the inside.
Note: As I rotated my hand, the palm and finger work both sides
at the same time. This kept everything even, and worked out very
well. |
|
|
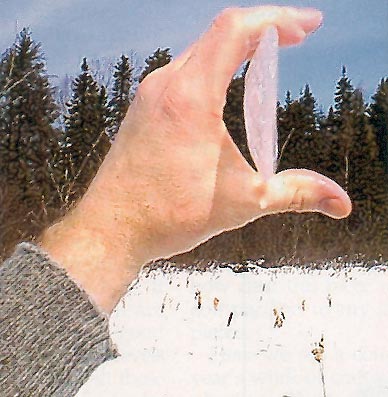
Photo 16
 |
I am trying to display the depth
that I am still trying to achieve, compared to the thickness
that I have. You can see from Photo 16 that my hands and
fingers are starting to be viewed on the opposite side. The
clarity of the lens now seems to be clearing up. I tried to
take my thumb and make the last part of the inner side, closer
to the outer side, with just a small amount of ice between the
two, and completing my "concave and convex" styling.
Figuring, the thickness might affect the sun's rays, I wanted
to reduce this thickness as much as I could without going right
through the two parts. |
|
|
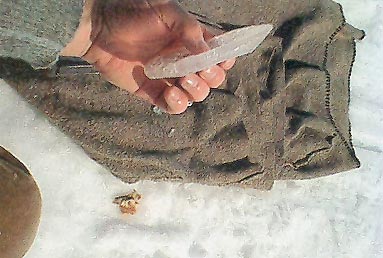
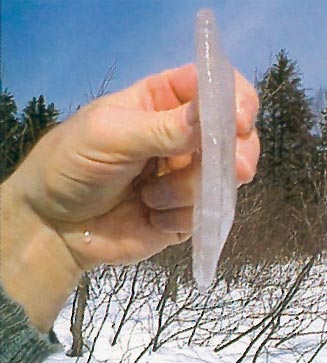
Photo 17
 |
I am showing the outer and inner
surface as you can see. Photo 17. You can see my thumb
through the ice lens. With this photo, I can gauge the thickness
that I was trying to achieve. I figured this was a good
starting point before the fine tuning, and, I did not want to go
much deeper than this so that I would have some material left.
If you are to deep at the fine tuning stage, there will be
nothing left to work with,
|
|
|
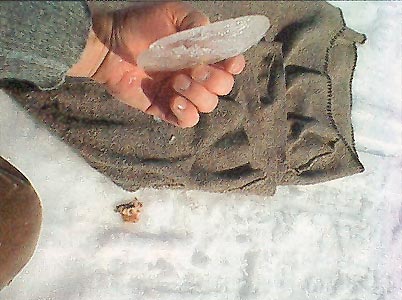
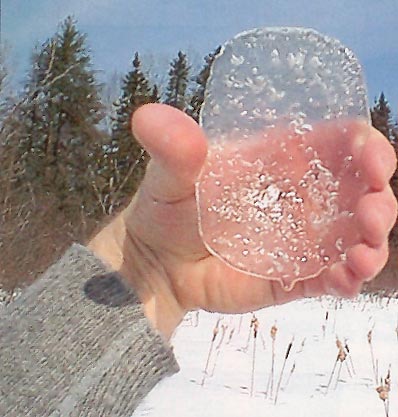
Photo 18
 |
In Photo 18, I have my
desired depth and circumference that I need. I am trying to
mould the lens so that I have the sides even all around. You can
see from this photo that the lens has cleared up considerably
since it had come out of a small pond. So, we have gained in
clarity, and the lens is getting more molded in my hands, and
all the while I kept figuring on how to keep it looking like a
magnifying glass. It is starting to take shape -- it is not too
big to be manageable, and is easy to craft at this point.
|
|
|
Photo 19
 |
I am trying to keep in mind a few
points like the thickness at the end of it when I actually get
to try it before it melts away. Photo 19. How much ice
will the sun's rays actually pass through? Will it still be
strong enough to make a fire? When I have it fine tuned, will
just holding it on the tinder melt it away too quickly before it
has had time to work? When you make a fire from ice on a hot
day, there are many variables. |
|
|
Photo 20
 |
I continued to craft the lens
while I figured out this particular piece of ice so that I could
achieve its absolute best characteristics. I am trying to solve
problems as I am working to save time and before my ice melts
away. Photo 20. Time is a real factor against me now, and
I cannot waste even one moment. |
|
|
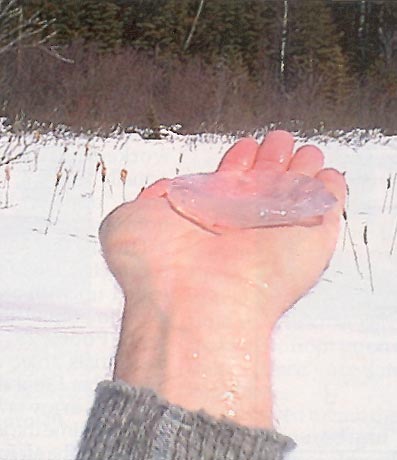
Photo 21
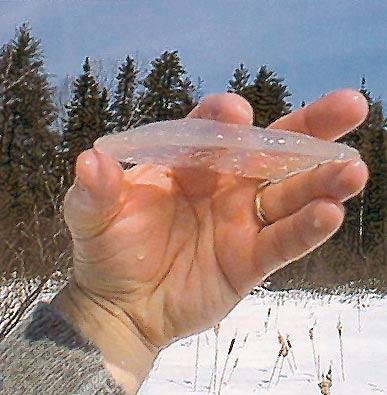 |
Photo 21 shows what I
figured to be a good series of dimensions for the fine-tuning
stage. It fit well in the palm of my hand, and it was easy to
mould. If you look at my hand closely, you will see a bead of
water running down my hand in the lower middle of my palm. This
indicates that it is indeed warm, and my ice hand lens is
melting. If I had crafted it initially too small, there would be
nothing left to use as a lens. |
|
|
Photo 22
 |
You can see how I have tried to
make the lens concave and convex at the same time, and keep the
same thickness through the ice lens. Photo 22. This was
the best way I knew of to make the lens even. The clarity at
this stage has changed considerably since we pulled it from the
pond. It looked pretty dirty initially, but now it does not seem
too bad. |
|
|
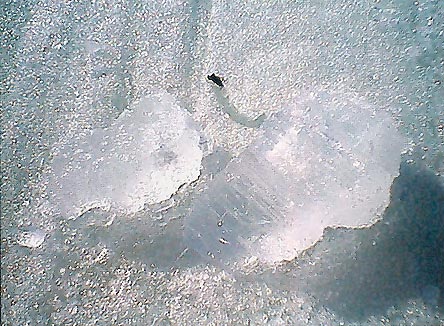
Photo 23
 |
In Photos 23, 24, 25, and 26,
you can get some idea and understanding of the dimensions I had
used, and what I was trying to achieve. I found that trial and
error is the only way. With this photo series, you can also see
the clarity from this particular piece of ice, but you can also
see the air bubbles within the ice. Can we use this to our
favour, or will these have a negative impact on our lens focus?
I wanted to see what "bush ice" could and could not do. |
|
|
Photo 24
 |
|
|
|
Photo 25
 |
|
|
|
Photo 26
 |
|
|
|
Photo 27
 |
I am trying to fine tune my lens,
and with each try , I work the sun's rays through. Photo 27.
Each time I seem to get closer to what I wanted, but it always
just fell short of the goal. Every time I worked with the lens
in the fine-tuning stage, the ice hand lens was still melting. |
|
|
Photo 28
 |
In Photo 28, I tried to
reduce the size of the lens a bit smaller in the hopes that the
sun's rays would be more intense, and to help my light to focus
better. I still did not have the good results that I was looking
for. The air pockets had a definite effect on the lens. When
the sun's rays would pass through it, would melt from one air
pocket to the next and, spread rather quickly. I would loose a
lot of ice.
I thought each factor that worked against me was actually
teaching me many good "options" about fire from ice. |
|
|
Photo 29
 |
This is the size of the completed
lens that I had ended up with after many experimenting and
actual trials. Photo 29. In doing these trials, there are
some things that I found that did not work in my favour. Each
time the ice melted to a point, the air formations that I was
left with, made a lot of little holes in the ice. This
particular type of ice melted a lot quicker. I would also lose
the intensity of the sun's rays. However, in fairness, the
little air holes had some advantages too. I learned something
very valuable from those air holes, as you will see later in my
articles. Also, I had found a great "option."
|
|
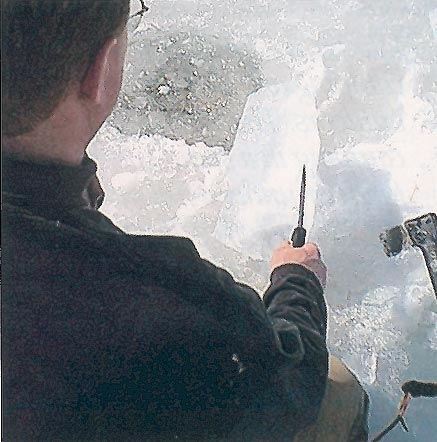
I had set out to do what I had wanted -- to take an ice block from this
particular pond and try to make a magnifying glass lens. Then, try it and
see where I actually was in making fire from ice. There have been some good
lessons with this trial:
- I found that this particular depth of ice would melt quicker than
expected. The place that you take your ice piece from will help with the
eventual ice lens clarity.
- The shape of the lens and the sizes will give different results on
the focus of the sun's rays.
- The air pockets you find in some ice will offer little clues to the
secrets in finding the fire from ice skills.
- The time of day that the ice lens is crafted and tried will make a
difference.
- The winds have a definite effect on the ice lens's longevity.
|
|
Photo 30
 |
In Photo 30 are some of the
pieces I collected from the different spots on this river. Some
were from faster waters, and some were taken from different
depths of water. Some of these pieces were crafted from
different depths in the same hole. If you watch when you are
cutting the ice from a good source, check the many levels of
formed ice. Within these levels there will always be some really
good layers. Go through these layers, select the best, and try
to craft from these layers first! They are great starters. |
|
|
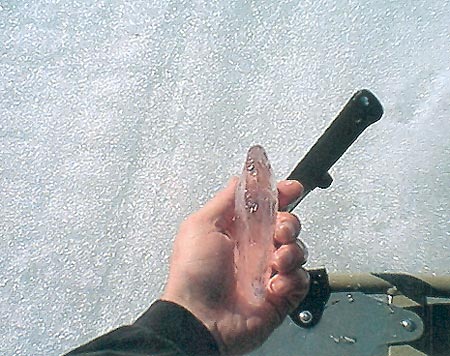
Photo 31
 |
I have continued on with roughing
out the lens by hand to where I think it might offer me the best
characteristics. Photo 31. This particular lens is
relatively clear, and the ice was good for shaping. With the ice
lens on its side, you can still see through it. It offers you a
chance to see just how clear this piece was in comparison to my
earlier pieces. |
|
|
Photo 32
 |
Here we see a couple of year's
work of crafting and playing. Photo 32. This photo shows
clearly that the lens is small and manageable. The sun's rays
focus much better, and the lens is a lot clearer to allow for a
good angle and the sun's rays focus. The angle with this lens,
which is hard to see, is actually steeper within the lens
itself. I did achieve a better lens in increasing the angle to a
steeper focus. Then, the day came when my lens was as fine as I
have ever crafted it. As luck would have it, the clouds were
rolling in just as smoke was beginning to rise from my fungus
tinder. But, this happening the way it did, was a blessing in
disguise. |
|
|
I had to think about this. I thought fire from ice was a block of ice formed
into a lens. Now I had to see if there were more "options" to this great
skill, and perhaps an easier more practical way to make it work. With all
the lessons that I learned thus far, some new ideas that I thought out from
making each and every lens, and the years of trial and error, I wanted to
make it as practical and functional as possible. |
|
|
|
Part I
Part II
Part III |
|
|
|
This article originally appeared in
Wilderness Way magazine, Vol 9, issue 1
Text and Photos Copyright © by
Allan "Bow"
Beauchamp |
|
|
|
|

