|
|
Home →
Survival →
Shelter →
Debris Hut
Horizontal Rib
Debris Hut
Article, drawings and photos
by Mike Booty
(Page 2 of 2)
|
|
|
|
Construction
|
|
|
|
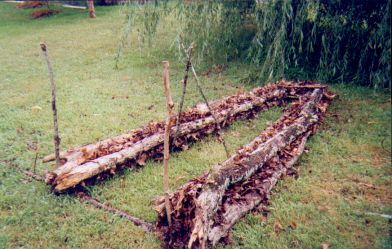
1. Lay the largest end of the 1st course
30" apart at the doorway. Lay the inside edges of the other end/foot
end 8" apart. Lay the 12" long 1" cross support limb (item
7) across the top of the two ribs just beyond the feet to stabilize the
next course of horizontal ribs. |
|
|
|
|
|
2. Hammer the pointed end of item 9 vertically into the
ground at the doorway end and on the outside edge of the first course to
keep the rib from pushing out from the load of the ribs above. |
|
|
|
3. Install the A-Frame (item 1) by pushing the
pointed ends into the ground against the inside edges of the first course
36" in from the door entrance. The ribs will help hold the A-Frame in
place. The forked ends eliminate the need for tying with string. |
|
|
|
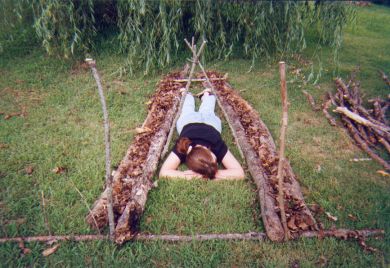
4. For cold weather, lay the outside ribs of
course 1 at least 2" from the inside course and stuff the space in
between with leaves. Cover the top of the ribs with leaves for sealing
next course. |
|
|
|
|
|
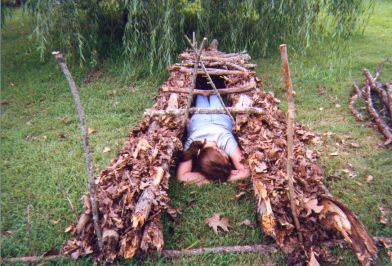
5. Lay the 2nd course on top of
the first course with cross supports at feet item 7. Gravity holds the ribs against the A-Frame.
|
|
|
|
6. Lay the 3rd course on top of
the 2nd course with cross supports at feet item 7 five feet from the doorway.
|
|
|
|
|
7. Lay the 4th course on top of
the 3rd course. |
|
|
|
8. Install the 24" long 5th
course on top of the 4th course next to the A-Frame that provides enough
room for occupant to turn over inside debris hut. |
|
|
|
9. Cover the hut with the first
layer of roof ribs. Be sure to bed the ends of the ribs in debris so
heated air does not leak out around ends. |
|
|
|
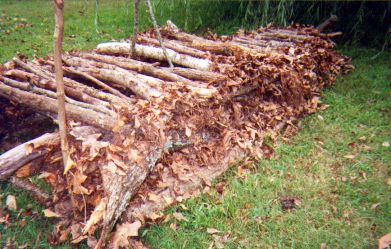
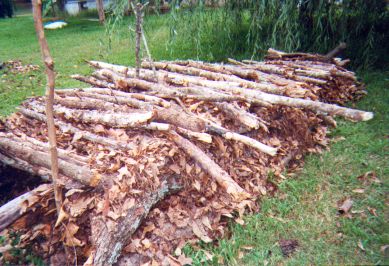
10. For cold weather
applications, cover roof sticks with 4" of debris and the second layer
of roof ribs to compress air out of debris. |
|
 |
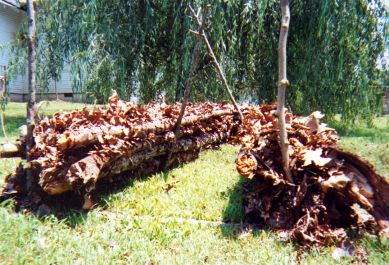
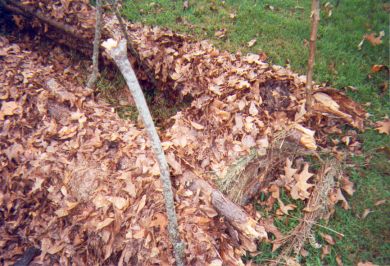
11. Optional: Add more debris
for rain proofing and insulation. Stack limbs behind 1st course &
door seal leaf retainer posts [item 9].
This is photo shows roof with rain cover of leaves. |
|
|
|
|
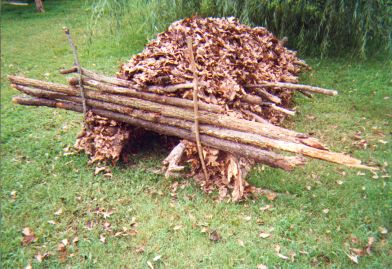
12. Remove four roof supports over doorway to expose leaves
over entryway. Stack roof supports over threshold. Wedge the 4 door
bundles in doorway. Pull leaves through opening in roof and pack against
door bundles to desired depth [12" - 24"]. This entryway and
door can be used as an add on to the vertical rib debris hut. Install the
A-Frame 30" in front of the vertical rib debris hut ridge pole
support. Install Item 9 first course & door seal leaf retainer posts.
Cover entryway with horizontal ribs and roof ribs. Install the leaf
retaining limbs. |
|
|
|
|
Photo of roof ribs removed and placed over threshold
and 4 door bundles. |
|
|
|
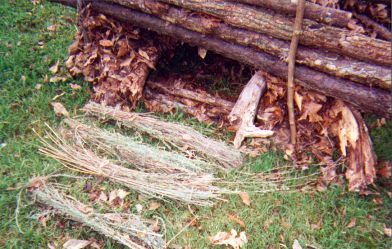
Photo of door with four door bundles in place with
leaves from roof stacked behind. Roof removed to show door
construction. |
|
|
|
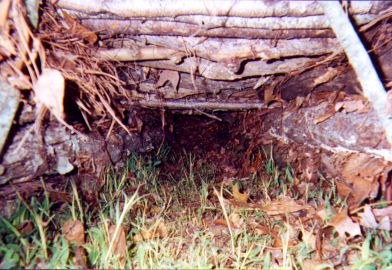
11. Picture of inside of debris hut. |
|
|
|
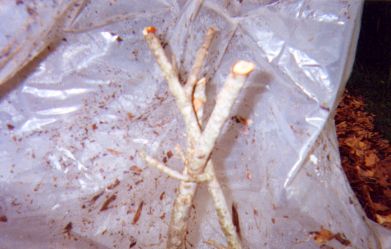
12. Photo of forked ends of A-Frame |
|
|
|
|
Conclusion
The horizontal rib debris hut has significant
advantages over the vertical debris hut. I assume the reason it's not utilized
as the standard design is that the horizontal ribs from dead fall is not
available in most locations. However, the importance of shelter in survival
situations makes awareness of this design useful. The area I live has had
three successive dry summers that has killed a lot of young trees which probably
accounts for the abundance of material available for the horizontal debris hut
ribs. In the deciduous forest I live in, I found many areas that have all the
ribs needed within a ¼ acre that could be collected in a few minutes for the
debris hut.
© 2002 Mike Booty
Previous
Page Next Page
|
|
|
|
|

