|
|
Home →
Survival →
Shelter →
Scout Pit
Scout Pit Construction
(Photos from the Advanced Standard Class Group on
Yahoo -- photographer unknown)
|
|
|
|
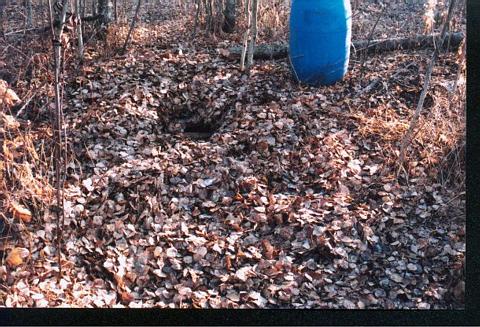
The following sequence of photos illustrate the process of construction of
a Scout Pit. |
|
|
|
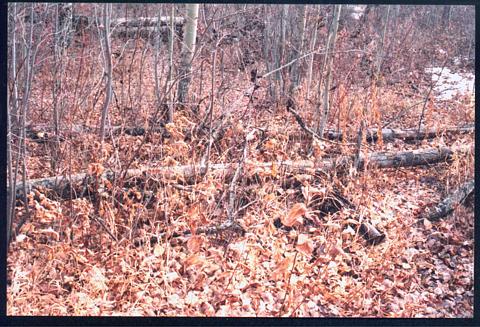 |
The chosen site. |
|
| |
|
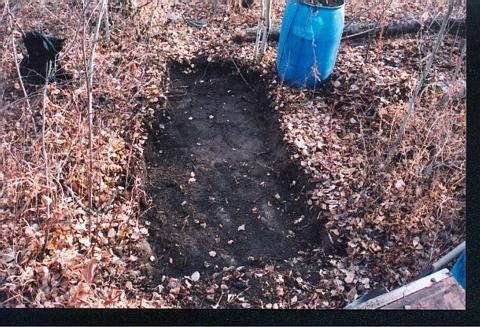 |
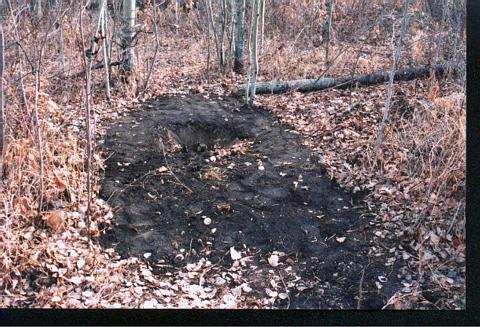
Removal of the top 6" of soil. Set
aside and save this soil, to later be put back on top of the scout
pit roof or ceiling. |
|
|
|
|
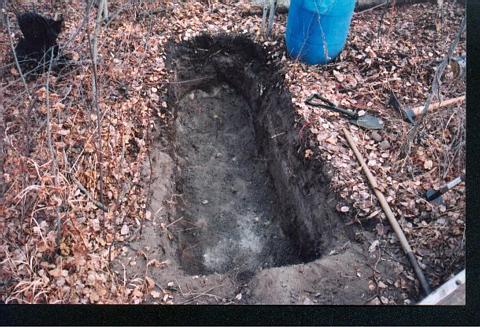 |
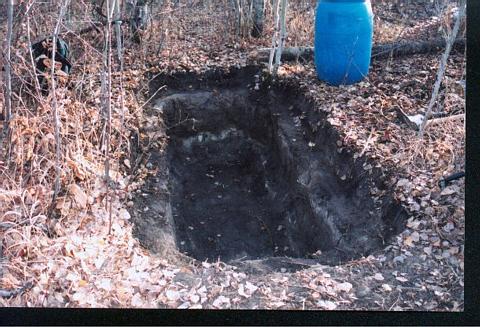
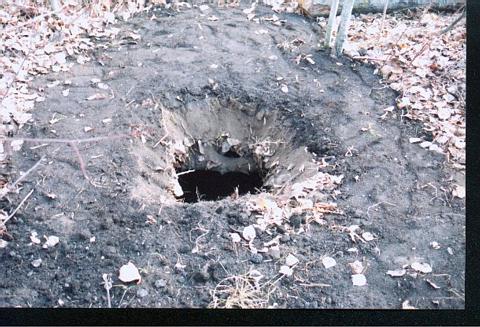
Hole for the pit, dug to hip depth. |
|
| |
|
 |
This photo shows the 6" ledge all around the pit.
This is to hold the roof logs. |
|
|
|
|
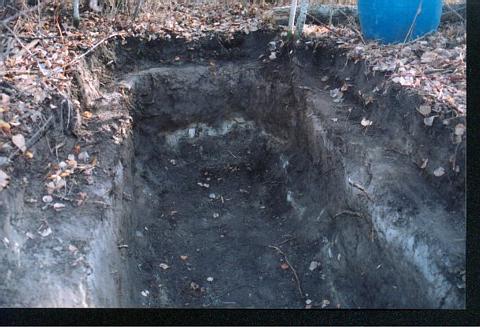 |
A close-up view of this 6" ledge. |
|
|
|
|
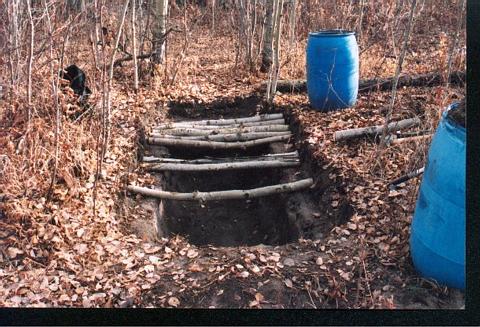 |
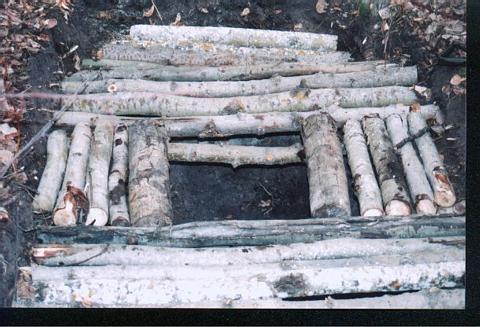
The ceiling being constructed. It is made of logs
that are a minimum of 3" in diameter. These ceiling
logs need to be able to carry the weight of anyone who walks across
the pit, without "bouncing" or otherwise giving away the location of
the Pit. |
|
|
|
|
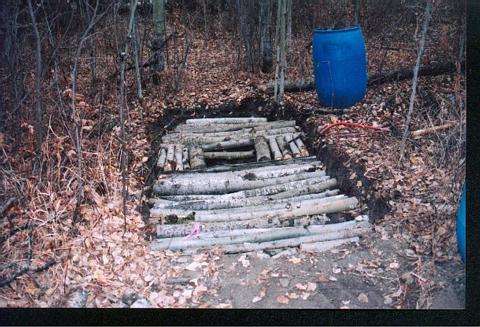 |
Here is the completed ceiling, with an entrance
hole. |
|
| |
|
 |
Close-up of the entrance hole. |
|
|
|
|
 |
Here the ceiling has been covered with a layer of
debris, a minimum of 6" deep. |
|
| |
|
 |
The top 6" of soil has been replaced (this was set
aside in photo #2 above). |
|
| |
|
 |
Close up of entrance. |
|
| |
|
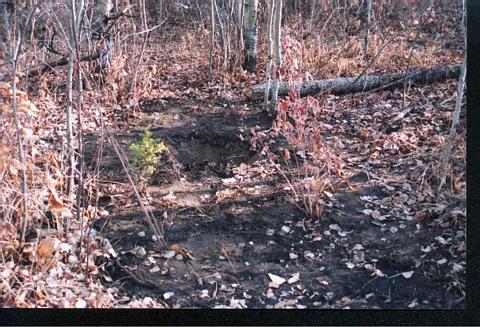 |
When all done, do some landscaping by replanting
shrubs and plants. The goal is to return the area to as close to
natural as possible. |
|
| |
|
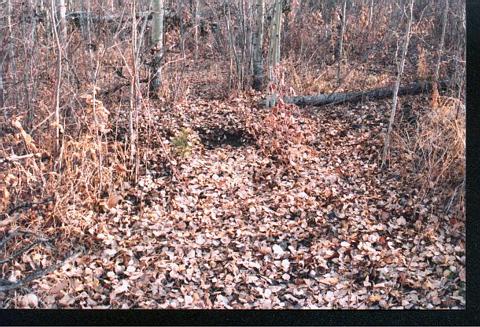 |
Add a final layer of debris to hide the Scout Pit.
When complete, the pit should be indistinguishable from the
surrounding landscape. |
|
|
|
|
|

