|
When I speak of my "igloo" it means my snow shelter. I try and build it
with some things in mind: what it is I am trying to accomplish, ie am I
making a shelter for the short term or long term. And, safety being
paramount, you must do this crafting in stages.
Learning first with a "miniature shelter" is always good. Why? Well,
after you have finished it, you can collapse it and see how it actually
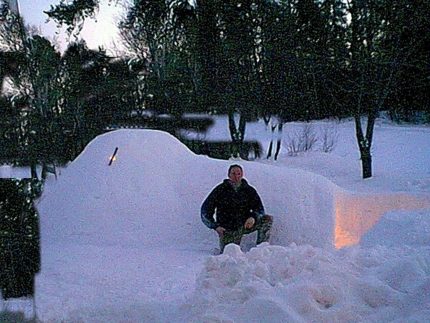
breaks up, so when you build a big one as you see in my pictures you can
understand why crafting is everything.
I build them most of the time this size, for two reasons:
- I have a completed shelter for the long term as I am very active in
the winter months,
- If one collapsed during the night, from snow or trees, I have a
redundant shelter to move immediately in to (the smaller, test one)
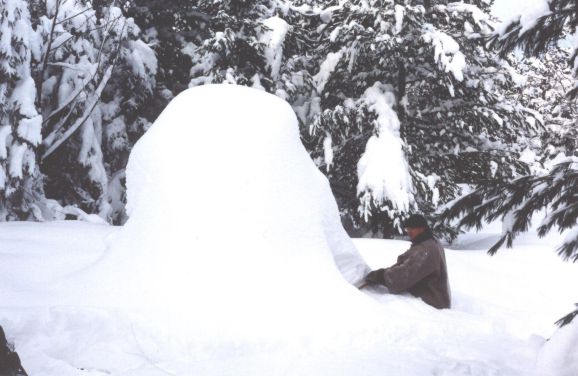
I always build them in three stages. First, what I call my "mound"
stage. For this I try to find good snow, snow that when I use my hand and
make a ball with it, just holds together, but isn't too wet and
sticky, as it will then be too heavy to remove from the inner side as well
as adding a lot of added weight to the shelter. And wet snow isn't a great
insulator either.
Then I find a good clearing and a level spot. I make my shelters about
10 feet in diameter and about 6.5 feet high.
After piling up the snow (wait for about 45 minutes) I start to remove
the snow from the inside. There are many tricks here in saving time to
remove the snow (but I'll outline them in another article perhaps).
I cut a good size door initially, as it is easier to remove the
snow.
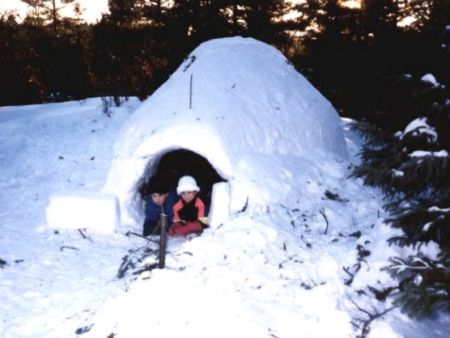
Then, when the snow is all cleared out from the inside, and the inner
side needs to stiffen up, I work on stage "two"...My door and tunnel.
With the extra snow taken from the inside, I now just slide it in front
of the door to make a "tunnel".
In 1/2 an hour I then start to remove this snow as well -- this is
fairly quick.
Once this is done, I will now have removed the snow initially from the
dome and used it on my "door tunnel". Now I take the door tunnel snow (the
snow I removed from the mound that made the "door tunnel") and move it
forward to make another smaller dome. Let it set for awhile.
Once this is done I remove this amount to my "small dome" stage as I
did initially from the "first dome", and move it to my last entrance
tunnel.
When this is completed you will find that the snow you used to made the
first dome has went a long ways!
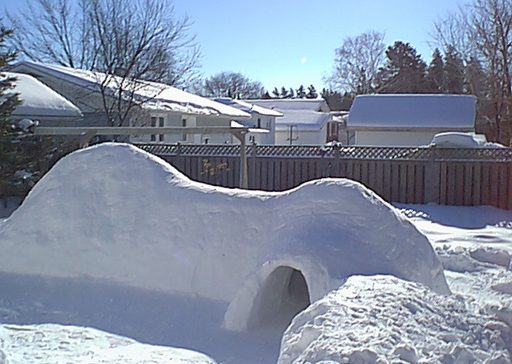
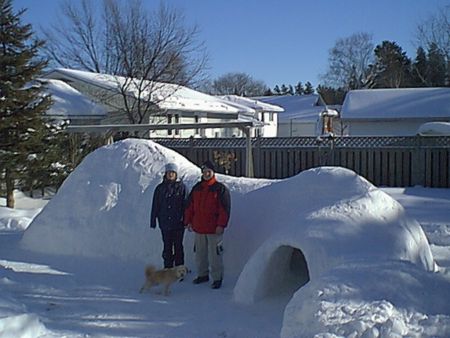
In summary, pile up a big pile of snow for the snow shelter. let it
set. Then scoop it out and pile it into a second pile. Let that set, scoop
it out, and pile it in a third pile. Let it set, then scoop it out. These
three piles are plainly visible in the above photo. Pile one is on the
left side, pile two forms the right side of the shelter, and pile three
the door tunnel.
I like to put a 90 degree turn on my two tunnels for two reasons:
- The wind is coming in at a cross draft, this is a good direction so
as not to get too much flow inside
- The long tunnel structure is more ridged, with the extra two posts
of snow half way down.
A great idea, in case of a high windy night and a limb lets go in the
bush!
That's all.
I set my igloo up in this fashion: The big dome is for sleeping only!
No exceptions! The second smaller dome is for gear storage and extra
supplies and I also set aside a small area for using my stove or kuddlik
to heat my food! And this then keeps the best insulation (within the snow
structure) in my "sleeping dome"!
These shelters don't have to be as elaborate as you see here, but I
like to have many "options" especially since I'll be there all winter.
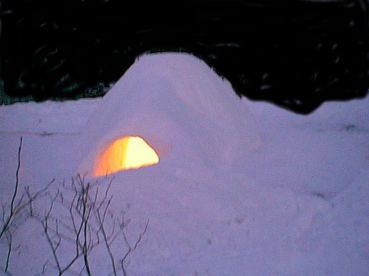
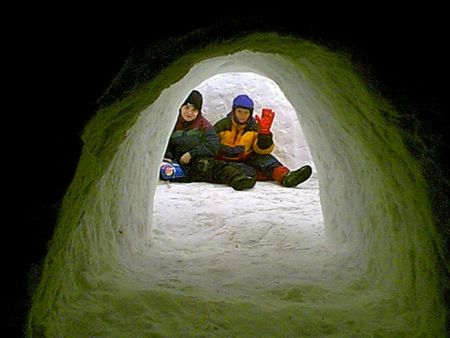
When you're traveling the bush in -45 below zero and need a sound place
to rest, this is definitely it: spacious and cozy!!
My favorite! |