|
|
Home →
Survival →
Containers →
Pottery
Three Methods of Making Pottery
by
Anthonio Akkermans
(Page 2 of 2)
|
 |
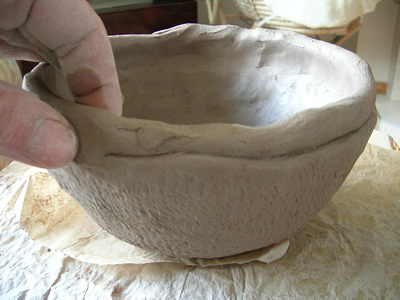
Once I have gone all the way around, I
do the same for the bottom, and the sides that were there before I
started coiling. Then I let the pot dry a little in order to ensure
that the pot can sustain the weight of the next set of coils. |
|
|
|
 |
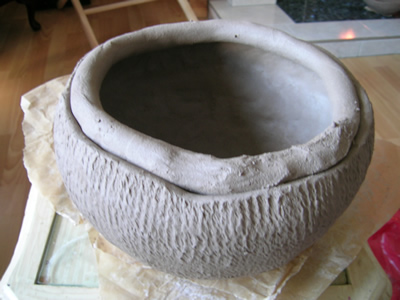
Once the pot is a bit stiffer (NOT
completely dry, of course!!) I ensure that the rim is nice and moist
again, and I place another two coils on the rim. |
|
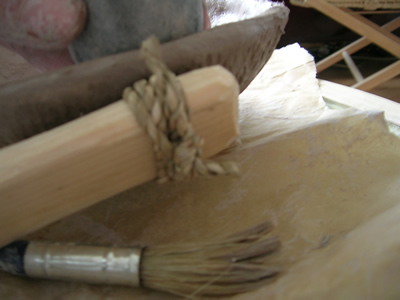 |
Once those are smoothed out, I use the
paddle again to whack those coils into place and shape and thin my
walls. |
|
 |
I now feel my pot is wide enough for
my use, so I want to start going up the ways. I do that by placing
the coil slightly inside the rim (the paddling action will make it
wider, you see). |
|
 |
And I just keep going, always ensuring
the coils are well smoothed over and attached to the previous coil
before paddling. |
|
 |
By placing my coils even further
inside the rim rather then on top, I am now guiding my rim inwards. |
|
 |
And here another view from above
showing how far inside the rim I place my coil. |
|
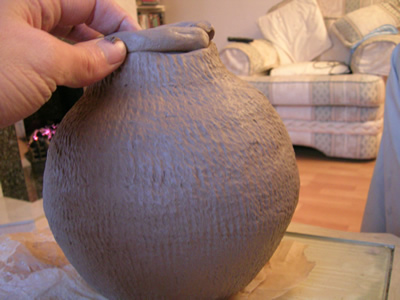 |
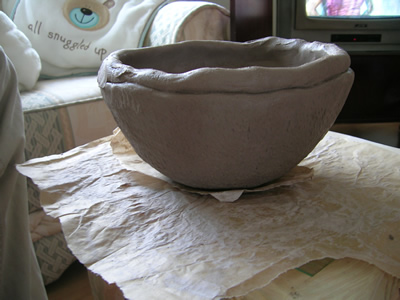
It's getting along nicely now. I feel
the neck on my pot is now narrow enough for my purposes, so I am
going up the ways and out again. |
|
 |
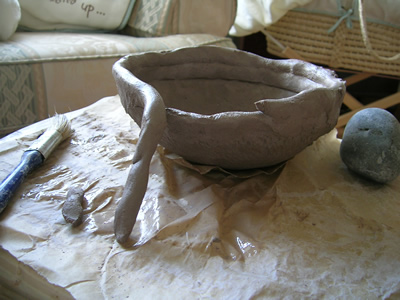
Once my rim is completed, I level it
out, and smooth it over the best I can. If you leave the rim uneven,
you may get cracks in the clay as it's drying. |
|
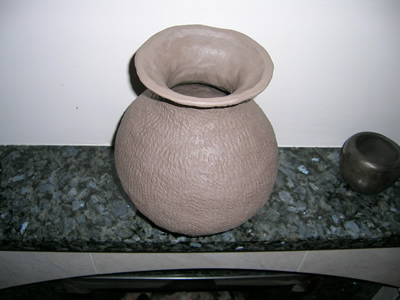 |
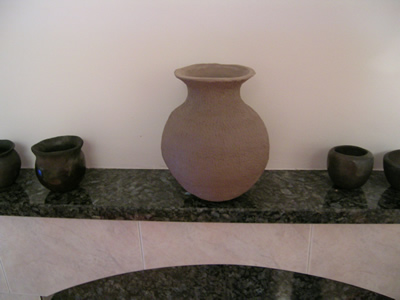
The pot is now finished and will dry
for a few days (Normally, I am going to cheat by using my oven). |
|
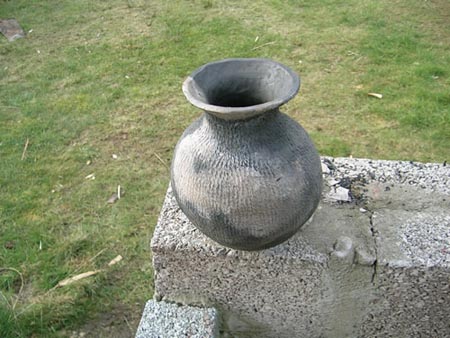 |
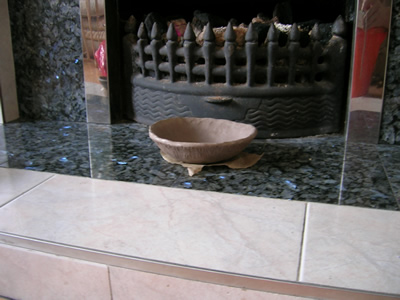
And here is the fired article. |
|
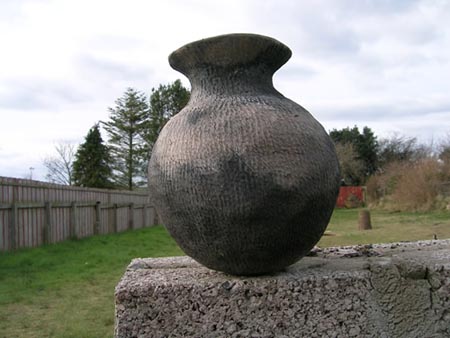 |
Closeup. |
|
|
|
|
Page 1
Page 2 |
|
|
|
|

