|
Home →
Survival →
Tools
Stone Tools
|
| |
|
|
|
An obsidian flake "X-Acto knife"
Photos by Rob Bicevskis |
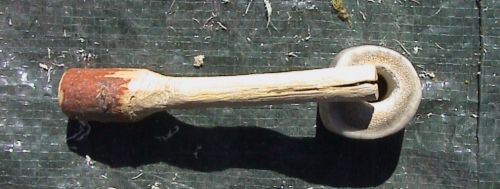 |
Note the following: 1. Slit in
end of stick. This is where the obsidian flake will be placed.
2. The sleeve lying on the tarp. This is place onto the
handle prior to inserting the obsidian flake. Then it is shoved
up to tighten the end of the stick around the flake, holding it
in place. (See next photo.) |
|
|
|
 |
The obsidian flake is now in
place. The sleeve is shoved up against
the obsidian flake, thus tightening the hold on the flake. The
inside diameter of the sleeve is just barely big enough to slide
over the end of the stick. |
|
|
|
|
|
|
Stone Tools made by
Anthonio Akkermans
Photographs by Anthonio Akkermans |
|
|
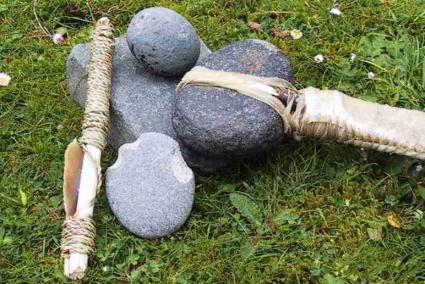 |
A selection of stone tools.
To the right is a hammer, tied with rawhide to a
rawhide-clad wooden handle.
At the bottom is a handtool with some chips knapped out
of it to make a sharp edge. This could be utilised as a small
cutter.
To the left is a stone knife - see picture below.
At top is a nice round hammer-stone.
And underneath it all is a stone base for working on,
like a small anvil. |
|
| |
|
|
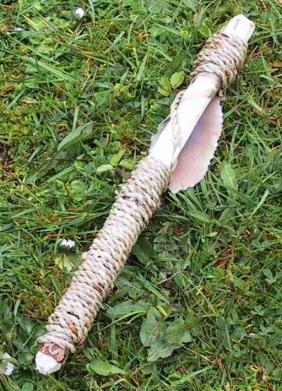
A close-up of the stone knife. The stone (probably
flint) knife blade is inserted into a split stick which is then
bound up with cordage. |
|
| |
|
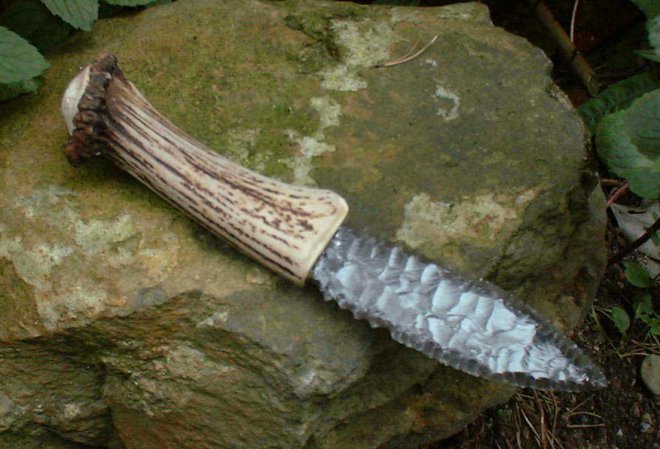
A knife made from obsidian, with a deer
antler handle.
|
|
|
|
|
|
The knife blade from the above knife.
|
|
|
|
|
|
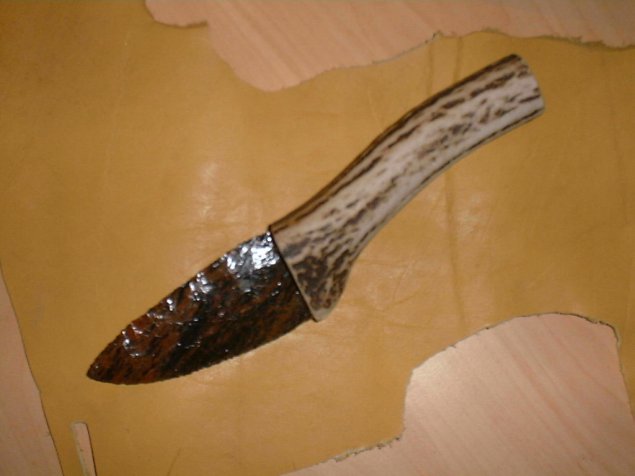
Another obsidian knife, again with a deer antler handle
|
|
|
|
|
|
|
|
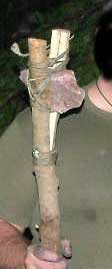 |
A stone hatchet, inserted into a split
stick. Note the cordage above the stone, to tighten the two halves
of the split around the stone. And the cordage below the split, to
help prevent the split from running the rest of the way down the
handle. Photo by Allan "Bow" Beauchamp |
|
|
|