|
|
|
|
Home →
Survival →
Fire →
Fire From Ice
Fire From Ice: The Trail of
Learning Part III
Allan "Bow" Beauchamp |
| |
| In the previous articles of this series, I have tried to
give the readers a starting point for this great skill. In doing so, I have
gained many insights into developing this skill. I had tried to develop a
"feel" for forming a lens with my hands. Also, I had experimented with
various types of ice, from deep water, fast water, sheltered water, and so
on. |
| |
|
Photo 33
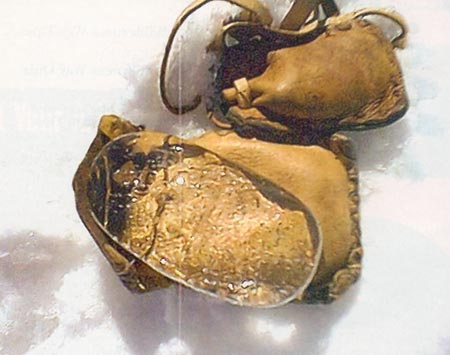 |
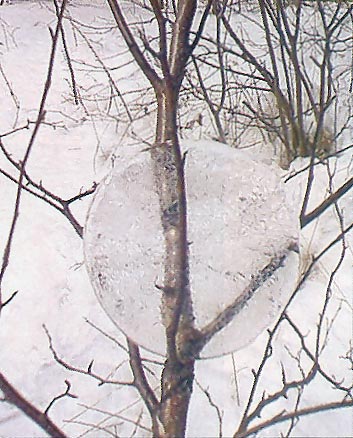
My initial work led me to what you
see in Photo 33. This was the best lens that I could
fabricate with the materials I had encountered. |
|
|
|
|
Photo 34
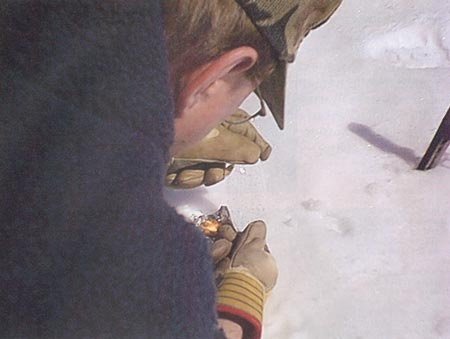 |
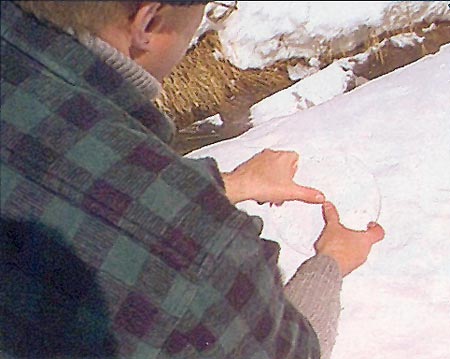
In Photo 34, you can see the
actual light being focused.
The problems faced were always the same in every scenario.
Weather variables always derailed my attempts at making "fire
from ice." A gust of wind or a change in sky conditions would
ruin my chances of actually igniting my tinder. That alone, with
the amount of time available to use a melting ice lens, made me
seek other "options." I did not want to just be able to make
fire under perfect conditions. I needed more practical solutions
that could only be learned through more trial and error. I have
followed the trail of learning in my article
Two Stone Fire
Starting. Now a new trail was laid out before me. |
|
|
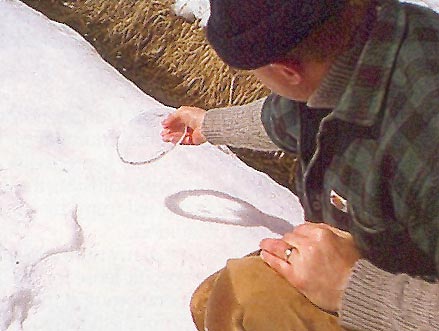
Photo 35
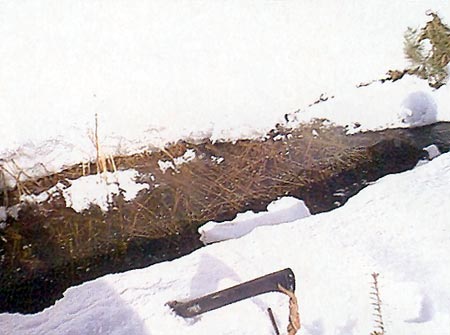 |
I needed to find a new source of
material, something more practical. As I was traveling through
the bush one day, it occurred to me to try what I call "bush
ice." This was nothing more than a small creek with water in it.
Photo 35. |
|
|
Photo 36
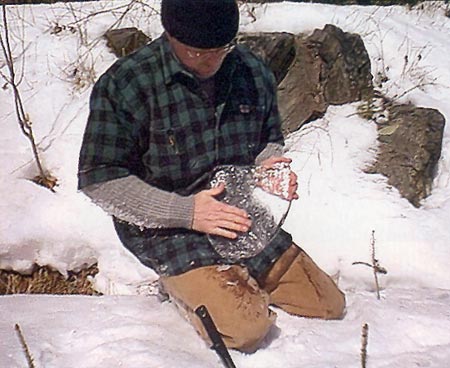 |
The ice had surprisingly good
clarity and was easy to harvest. Plus, the ice had had a uniform
thickness that would require less crafting time. Photo 36.
The ice was good and hard, not brittle, that would work to my
advantage. I would like to add here another advantage of "bush
ice." By not having to walk on a frozen lake or river, I reduced
my risk of falling onto icy water. |
|
|
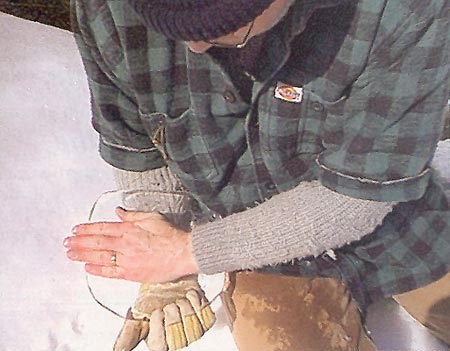
Photo 37
 |
As you see in the previous photo,
I began to smooth the outside of the ice with my hands. A smooth
surface with few imperfections, bumps, or uneven spots is a
plus. Smooth ice with no obstructions allows for the best chance
for the light to produce the heat we need. Remembering what we
have learned earlier, we know that the light's angles entering
the lens, plus the angles of the lens's surface combine to
produce the intensity of the rays. In order to produce greater
heat, I decided to try a larger diameter lens. Photo 37. |
|
|
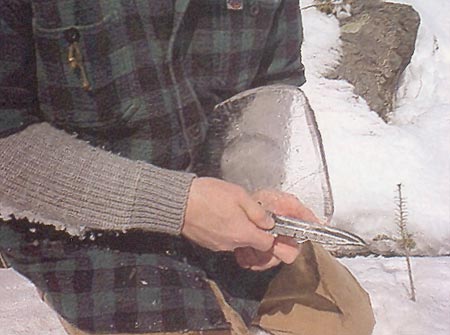
Photo 38
 |
With the larger diameter lens, it
seemed that I would not have to make the ice as "convex or
concave." You can see that I used my knife in Photo 38 to
help shape the interior. |
|
|
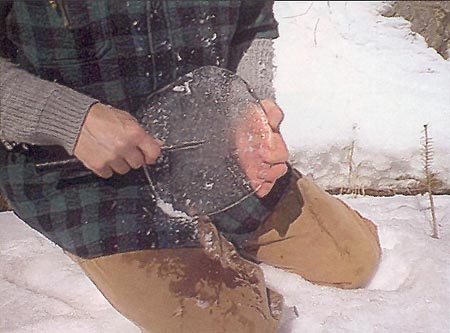
Photo 39
 |
After starting the shape with the
knife, I returned to my method of using the warmth of my bare
hand to smooth and continue to shape the lens. One slight
difference was that I used a gloved, and therefore cooler hand
to hold the lens. This preserved my previous crafting and
materials for the fine-tuning stage. Photo 39. |
|
|
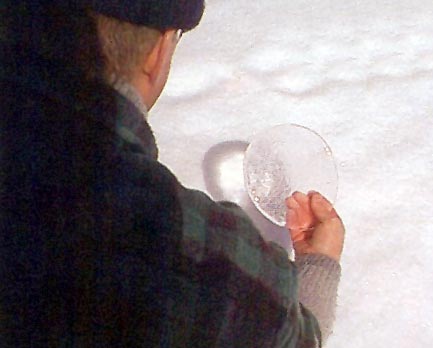
Photo 40
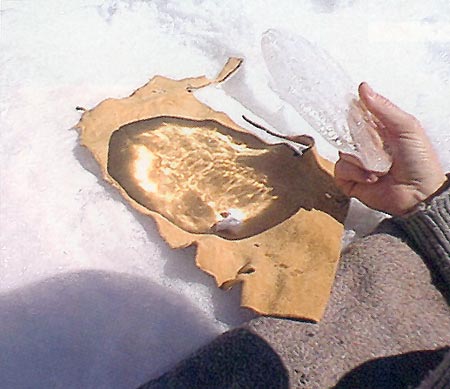 |
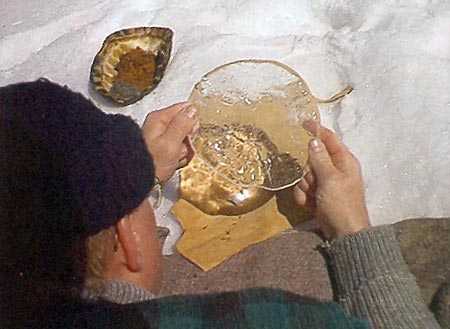
Looking at Photo 40 shows us
that light is indeed passing through the lens. My goal now is to
slowly shape the lens to increase the focus of the rays. Notice
the different intensities of the light on my buckskin. Look
closely at the 3 o’clock point on the buckskin. Next to the
shadow of my thumb, the light took on a unique quality. Was the
water melting from my warm thumb increasing the intensity of the
light? This thought might come in handy in future trials. One
thing gained for sure was the knowledge that the larger lens and
shallower " concave-convex" shaping seemed to move me closer to
my goal. |
|
|
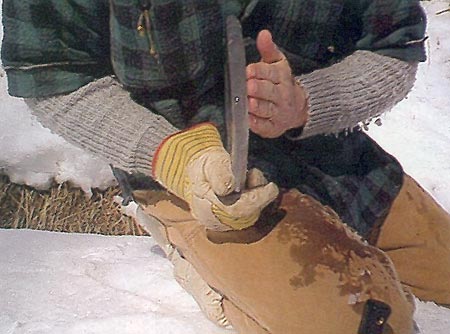
Photo 41
 |
In Photo 41, you can see
that I was able to use my palm to shape and smooth the larger
lens. |
|
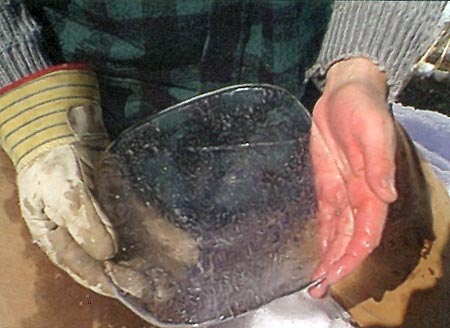
|
Photo 42
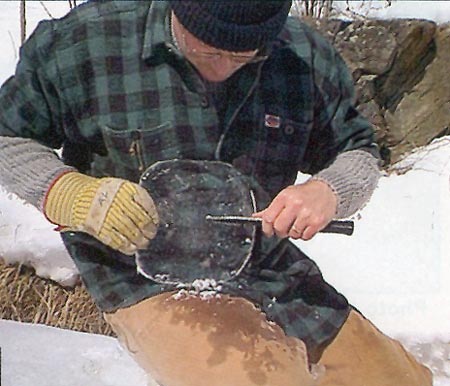 |
Photo 42. I held the lens
with my gloved hand and tried to make sure the thickness was
uniform throughout, and that the lens had a smooth circular
shape. Trial and error again gave me a feel for this. There is
no easy answer or shortcut. |
|
|
Photo 43
 |
I used my knife at times to help
the process, but all rough surfaces must be smoothed by hand.
Photos 43 and 44 show the dimensions of the lens
clearly. "Fine tune" or remove the ice slowly to preserve
material! |
|
|
A word of caution here: On several occasions as I shaped the lens, I would
seem to lose some intensity of the light. This is not always due to a
mistake on your part. Light conditions can vary from minute to minute. Pay
close attention to the sun and other variables that might affect your light
source. This is one of the variables that has kept me looking for better and
more practical "options." |
|
|
|
Photo 44
 |
|
|
|
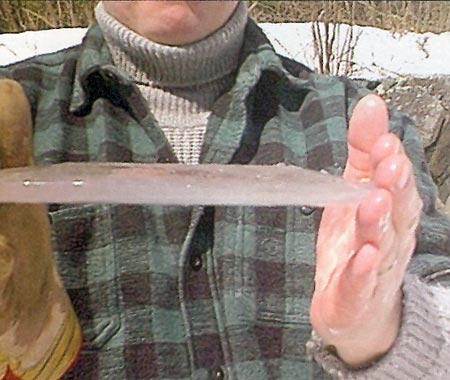
Photo 45
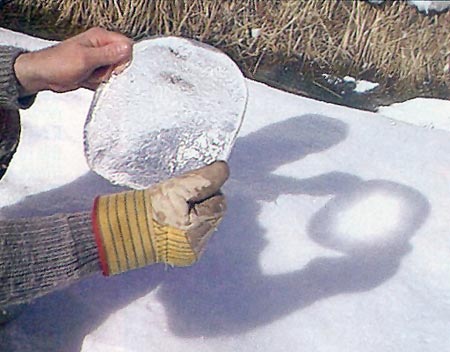 |
Photo 45 shows how far we
have come in directing the focus of our light. In order to
directly focus the light more, I steepened the outer edges of
the lens all of the while remembering to maintain symmetry and
uniform thickness. |
|
|
Photo 46
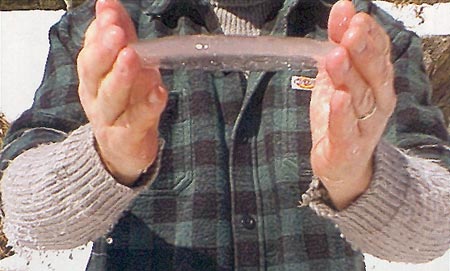 |
In Photo 46, you will see a
side view of the lens that shows the "concave-convex" qualities
that I sought. |
|
|
Photo 47
 |
In Photos 47 and 48, I
experimented by holding the lens at different angles. I hoped to
find a "sweet spot" in the lens that would not be as susceptible
to the changes in the sun's light. |
|
|
Photo 48
 |
|
|
|
Photo 49
 |
Moving on to Photo 49, I
further fine tuned the lens with my thumbs carefully to check
the light's focus while accounting for light conditions. |
|
|
Photo 50
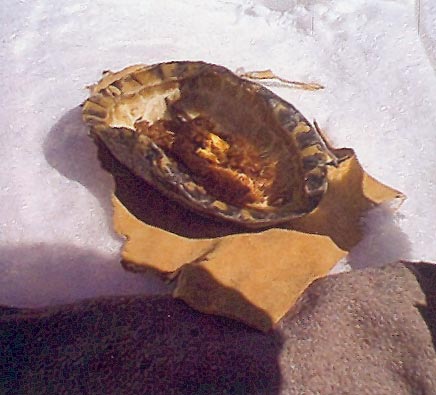 |
You can see the tinder bundle of
shredded cedar protected in a turtle shell. Photos 50 and 51.
Notice my gradual fine-tuning, along with adjusting the lens
angle, has provided a concentrated light beam. What you can not
tell from this photo is that I smelled the cedar heating up.
Still, I was just short of ignition. |
|
|
Photo 51
 |
|
|
|
There must be other variables. Could it be that my northern latitude
compromises the strength of the sun's rays? Do I need a site-specific lens
for the Canadian bush? Of the countless lenses that I made, each one
brought me closer to "fire from ice." I have learned to consider variables
ranging from the type of ice, size and shape of lens, angle and intensity of
sunlight, and even moisture on the ice's surface.
My lens style changed dramatically. So did my idea of the learning curve
for this skill. I now had an "ok" heat generator, but not a fire starter.
Preparation time and dependence on the weather left me searching for further
"options." Had I missed a crucial clue in the initial stages of developing
ice lenses? My trail of learning would indeed continue. |
|
|
|
Photo 52
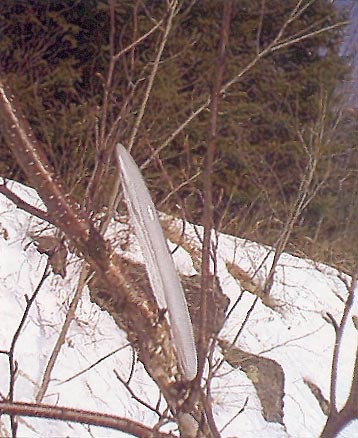 |
Photo 53
 |
|
|
|
|
Part I
Part II
Part III |
|
|
|
This article originally appeared in
Wilderness Way magazine, Vol 9, issue 2
Text and Photos Copyright © by
Allan "Bow"
Beauchamp |
|
|
|
|

